Pickles are a high-enzyme treat, as easy to make as they are to eat
You’ve probably heard in recent years how essential it is to incorporate probiotic foods into your daily eats. For most people that brings sauerkraut or kim-chee to mind, and don’t get me wrong, I love sauerkraut, but it can feel like a bit of project for someone who’s just begun to dip their toes into the deep waters of lacto-fermented foods. Pickles on the other hand, are a breeze to make and will easily win over the most picky of eaters.
Because of the incredible prevalence of vinegar pickled veggies in the U.S., real pickles have all but lost their true identity to most Americans–as a live, fermented food! Vinegar brine pickles can be pretty tasty, but for the most part they pale in comparison to a real salt brine pickle. Not to mention, any substantial health benefits are only present in the latter.
The genius thing is that salt brine fermented pickles are so easy to make, you can slog through the recipe without much effort. Plus these wonderfully tart and crisp beauties are ready in as little as 4-7 days fermentation time, as compared to two weeks with sauerkraut.

Cooking Tips
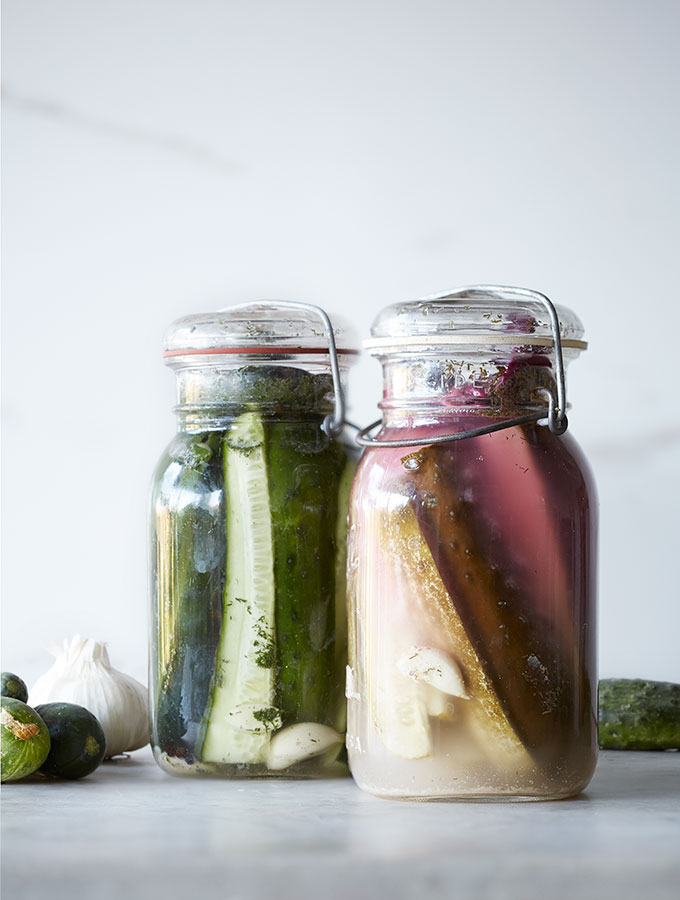
This recipe is for a small 1 quart batch, but can easily be doubled as in the gallon jar above. My estimation of how many cucumbers you’ll need is rough, so depending on size and shape of your cucumbers, you may end up with a couple left over for salad makings, cucumber sandwiches, Cacik, or the lot.
Prepping long cucumbers
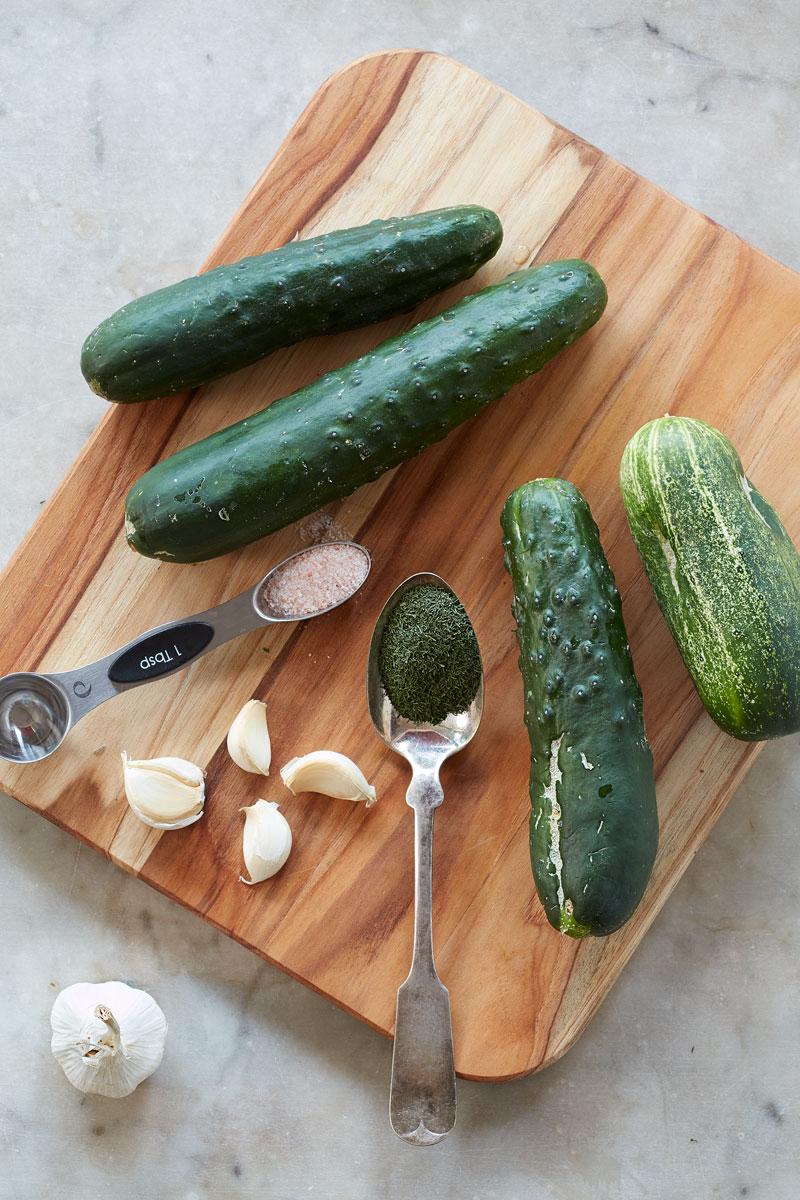
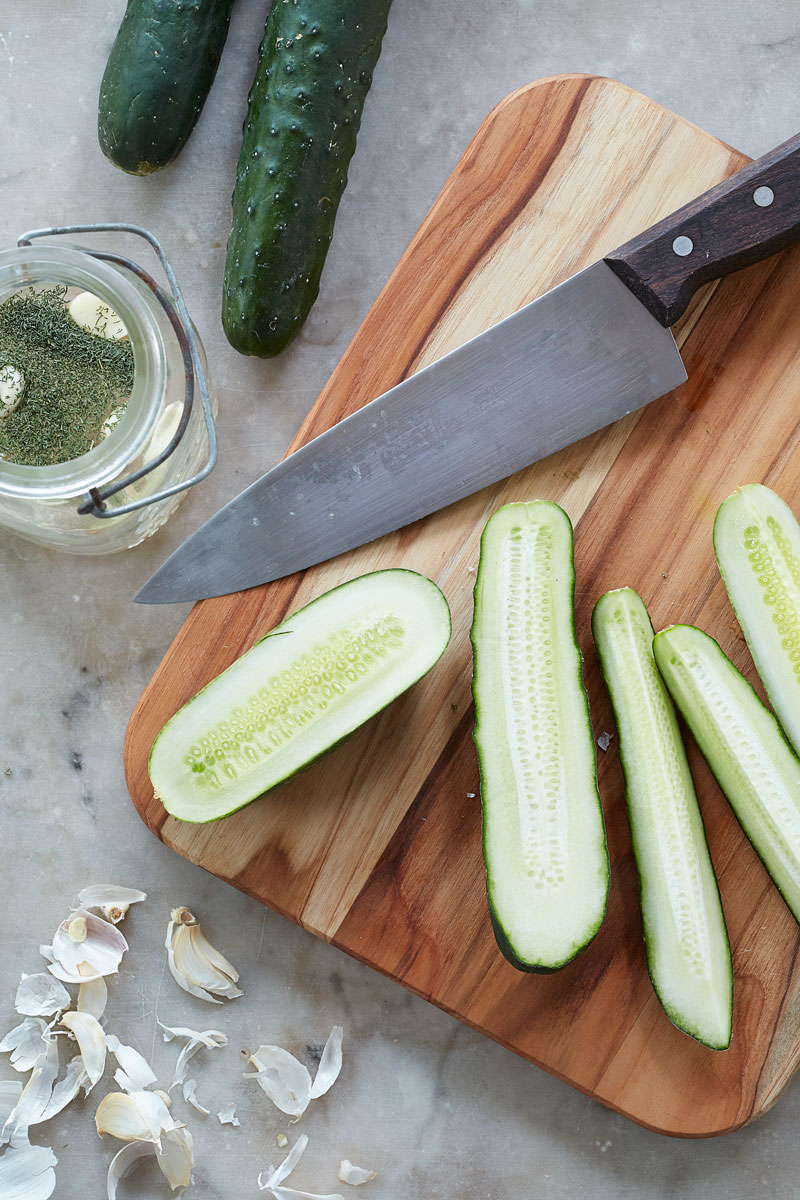
If you’re working with fairly long cucumbers, I recommend that you cut the cucumbers lengthwise in half or into quarters, as in the photo below. This makes it easier to pack the jar tightly, allows for a shorter fermentation time and the finished pickles look more appetizing when served.
To be sure the cucumbers are the right length, before you begin slicing lengthwise, take your longest cucumber and stand it up in the jar. Cut the cucumber down until it’s the right height, leaving an inch of breathing room at the top of the jar. Chop off the ends of all the cucumbers to match the height, then slice them lengthwise.
Filling the jar
Place any garlic or dill into the jar first, then pack in as many cucumbers as possible, pressing them down tightly before adding your salt brine. Once you’ve filled the jar with brine, and topped off with some filtered water, use any of the following tools to keep the pickles from floating above the brine solution:
- Kraut Source stainless steel lid with spring-loaded plate
- Sterilized (boiled) stone
- A one inch thick slice, or two, of cucumber
- Rolled leaf of cabbage, or other hearty green (the pink color of the brine in the top image is from a pink chard leaf!)
Whenever fermenting veggies, any bits that float up above the water line are exposed to oxygen and as result may form some mold. It may not be perceptible, but you should always skim the top and toss anything that was exposed to oxygen. The options above will help keep cucumbers, sauerkraut or any other veggie below water with closed-cap jar fermentation.
If you choose to invest $35.00 in a Kraut Source stainless steel lid, this will streamline the process for you quite a bit. What you should know in advance is that the lid is designed like a classic crock with water moat. This allows gasses to escape while keeping “wild” airborne bacteria out. Practically speaking, what this means is that as the water evaporates you have to be around to fill it back up if your intention is closed cap fermentation.
You can try “wild” fermentation by covering the lid with a cloth and sealing it tightly around the lip of the jar with a rubber band. Although I wouldn’t recommend wild fermentation with your first foray into fermenting foods. I’ve found it to be way more inconsistent and there’s nothing worse than waiting a week for a jar of spoiled veggies.
Use filtered water
Most municipal water contains chlorine, chloramine, fluoride and a whole lot of other chemicals that are not ideal for lacto-fermentation. The amazing thing is that you’ll still likely have successful fermentation, and the fermentation process actually helps to remove some toxins and pesticides from the food and the brine, but it’s best to start as clean as you can to get.
Don’t make those amazing, friendly bacteria struggle! Give them a friendly environment so that they can proliferate and do they’re job at really high level. If you don’t have a reliable source of water filtration at home, you should consider trying Miyabi Charcoal water filters.
Fermentation time
Pickles ferment at what feels like lightning speed when it comes to fermentation. There are fermented condiments that can be achieved in a mere 12 hours (like this delicious Garlic Aioli) but Traditional Sauerkraut is usually best at about 2 weeks time.
At 4 days check your pickles. When you open the jar you should be hit by a pleasantly tart aroma and the brine should fizz like champagne! Using a clean fork, pull out a pickle and give it a try. Again, it should taste tart and crisp. If it tastes off, something’s gone wrong and you’ll need to toss the batch. This has never happened to me with pickles, but it certainly has with other fermentation projects.
If it tastes good, just for the purpose of comparison on your first time around, go ahead and seal the jar once more and let the fermentation go another 4 days, for a total of 7-8 days. I prefer the fizzier fermentation that you get after a week, but the texture is a bit crispier at 4 days. See which you prefer! This timing works for both the long sliced pickles and the smaller whole cukes.
Salt brine cure
Don’t toss your salt brine! A spoonful a day will keep the doctor away. Full of probiotic “good” bacteria and electrolytes this health elixir can be added to salad dressings, taken with a glass of sparkling water and lime, added to cocktails or used for the next batch of fermentation. It’s good stuff. I could go on about it, and I will in a future post, but this one is long enough!
Enjoy those mouth-puckering pickles!
